ODS.ODSInstallationEC2
OpenLink? Data Spaces (ODS) Installation on Virtuoso EC2 AMI instance
The OpenLink Data Spaces? (ODS) are available as an EC2 AMI enabling the hosting of the complete suite of ODS applications in the Amazon Cloud.
Installation
- Start a Virtuoso EC2 AMI instance.
- Connect to:
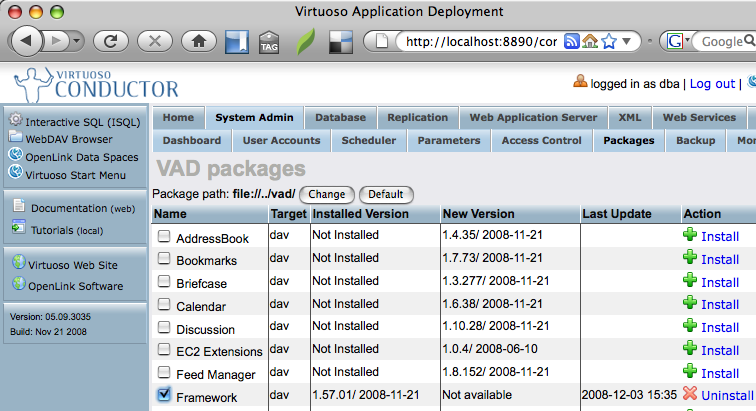
http://your-ec2-instance-cnamewith your Web browser and log in. - Go to "System" -> "Packages" tab and select the ODS applications you would like to install.
Note that installation of the ODS "Framework" application is required.
- Give the 'SPARQL' user 'SPARQL_UPDATE' privileges (required if you want to exploit the built-in Sponger Middleware).
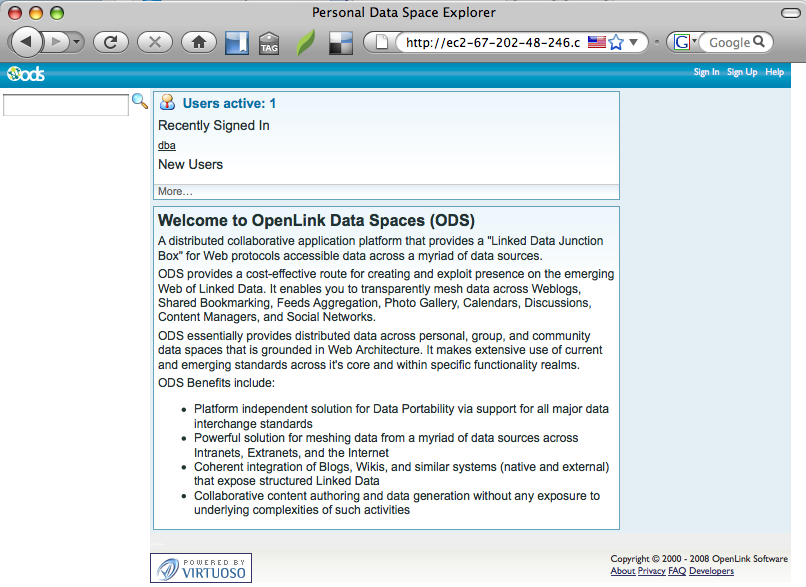
- Click on the ODS (OpenLink? Data Spaces) link (or go to
http://your-ec2-instance-cname/dataspace/ods/index.html) to start a Personal Edition of OpenLink? Data Spaces.

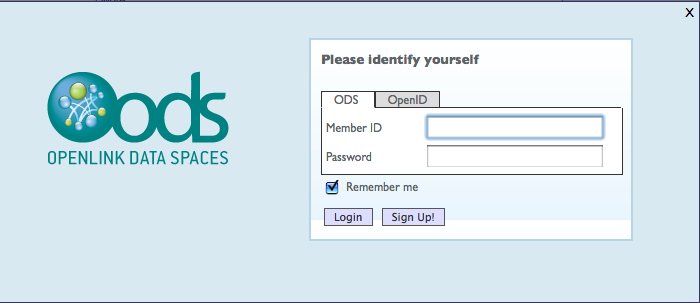
- Log in using the username and password credentials for the 'dav' account (or register a new user.
Note: OpenID? is an option here).
- Create a Data Space Application Instance by clicking on a Data Space Application Tab

- Import data from your existing Web 2.0 style applications into OpenLink? Data Spaces, e.g., subscribe to a few RSS/Atom feeds via the "Feeds Manager" application, or import some Bookmarks using the "Bookmarks" application
- Then look at the imported data in Linked Data form via your ODS generated URIs based on the patterns below —
WebID? http://your-ec2-instance-cname/dataspace/person/your-ods-id#thisFOAF Profile URL http://your-ec2-instance-cname/dataspace/person/your-ods-idSIOC File URI http://your-ec2-instance-cname/dataspace/your-ods-id/sioc.rdf
The OpenLink Data Spaces documentation? provides more details on usage.
CategoryHowTo CategoryODS CategoryVirtuoso
Copyright (C) OpenLink Software 2006